
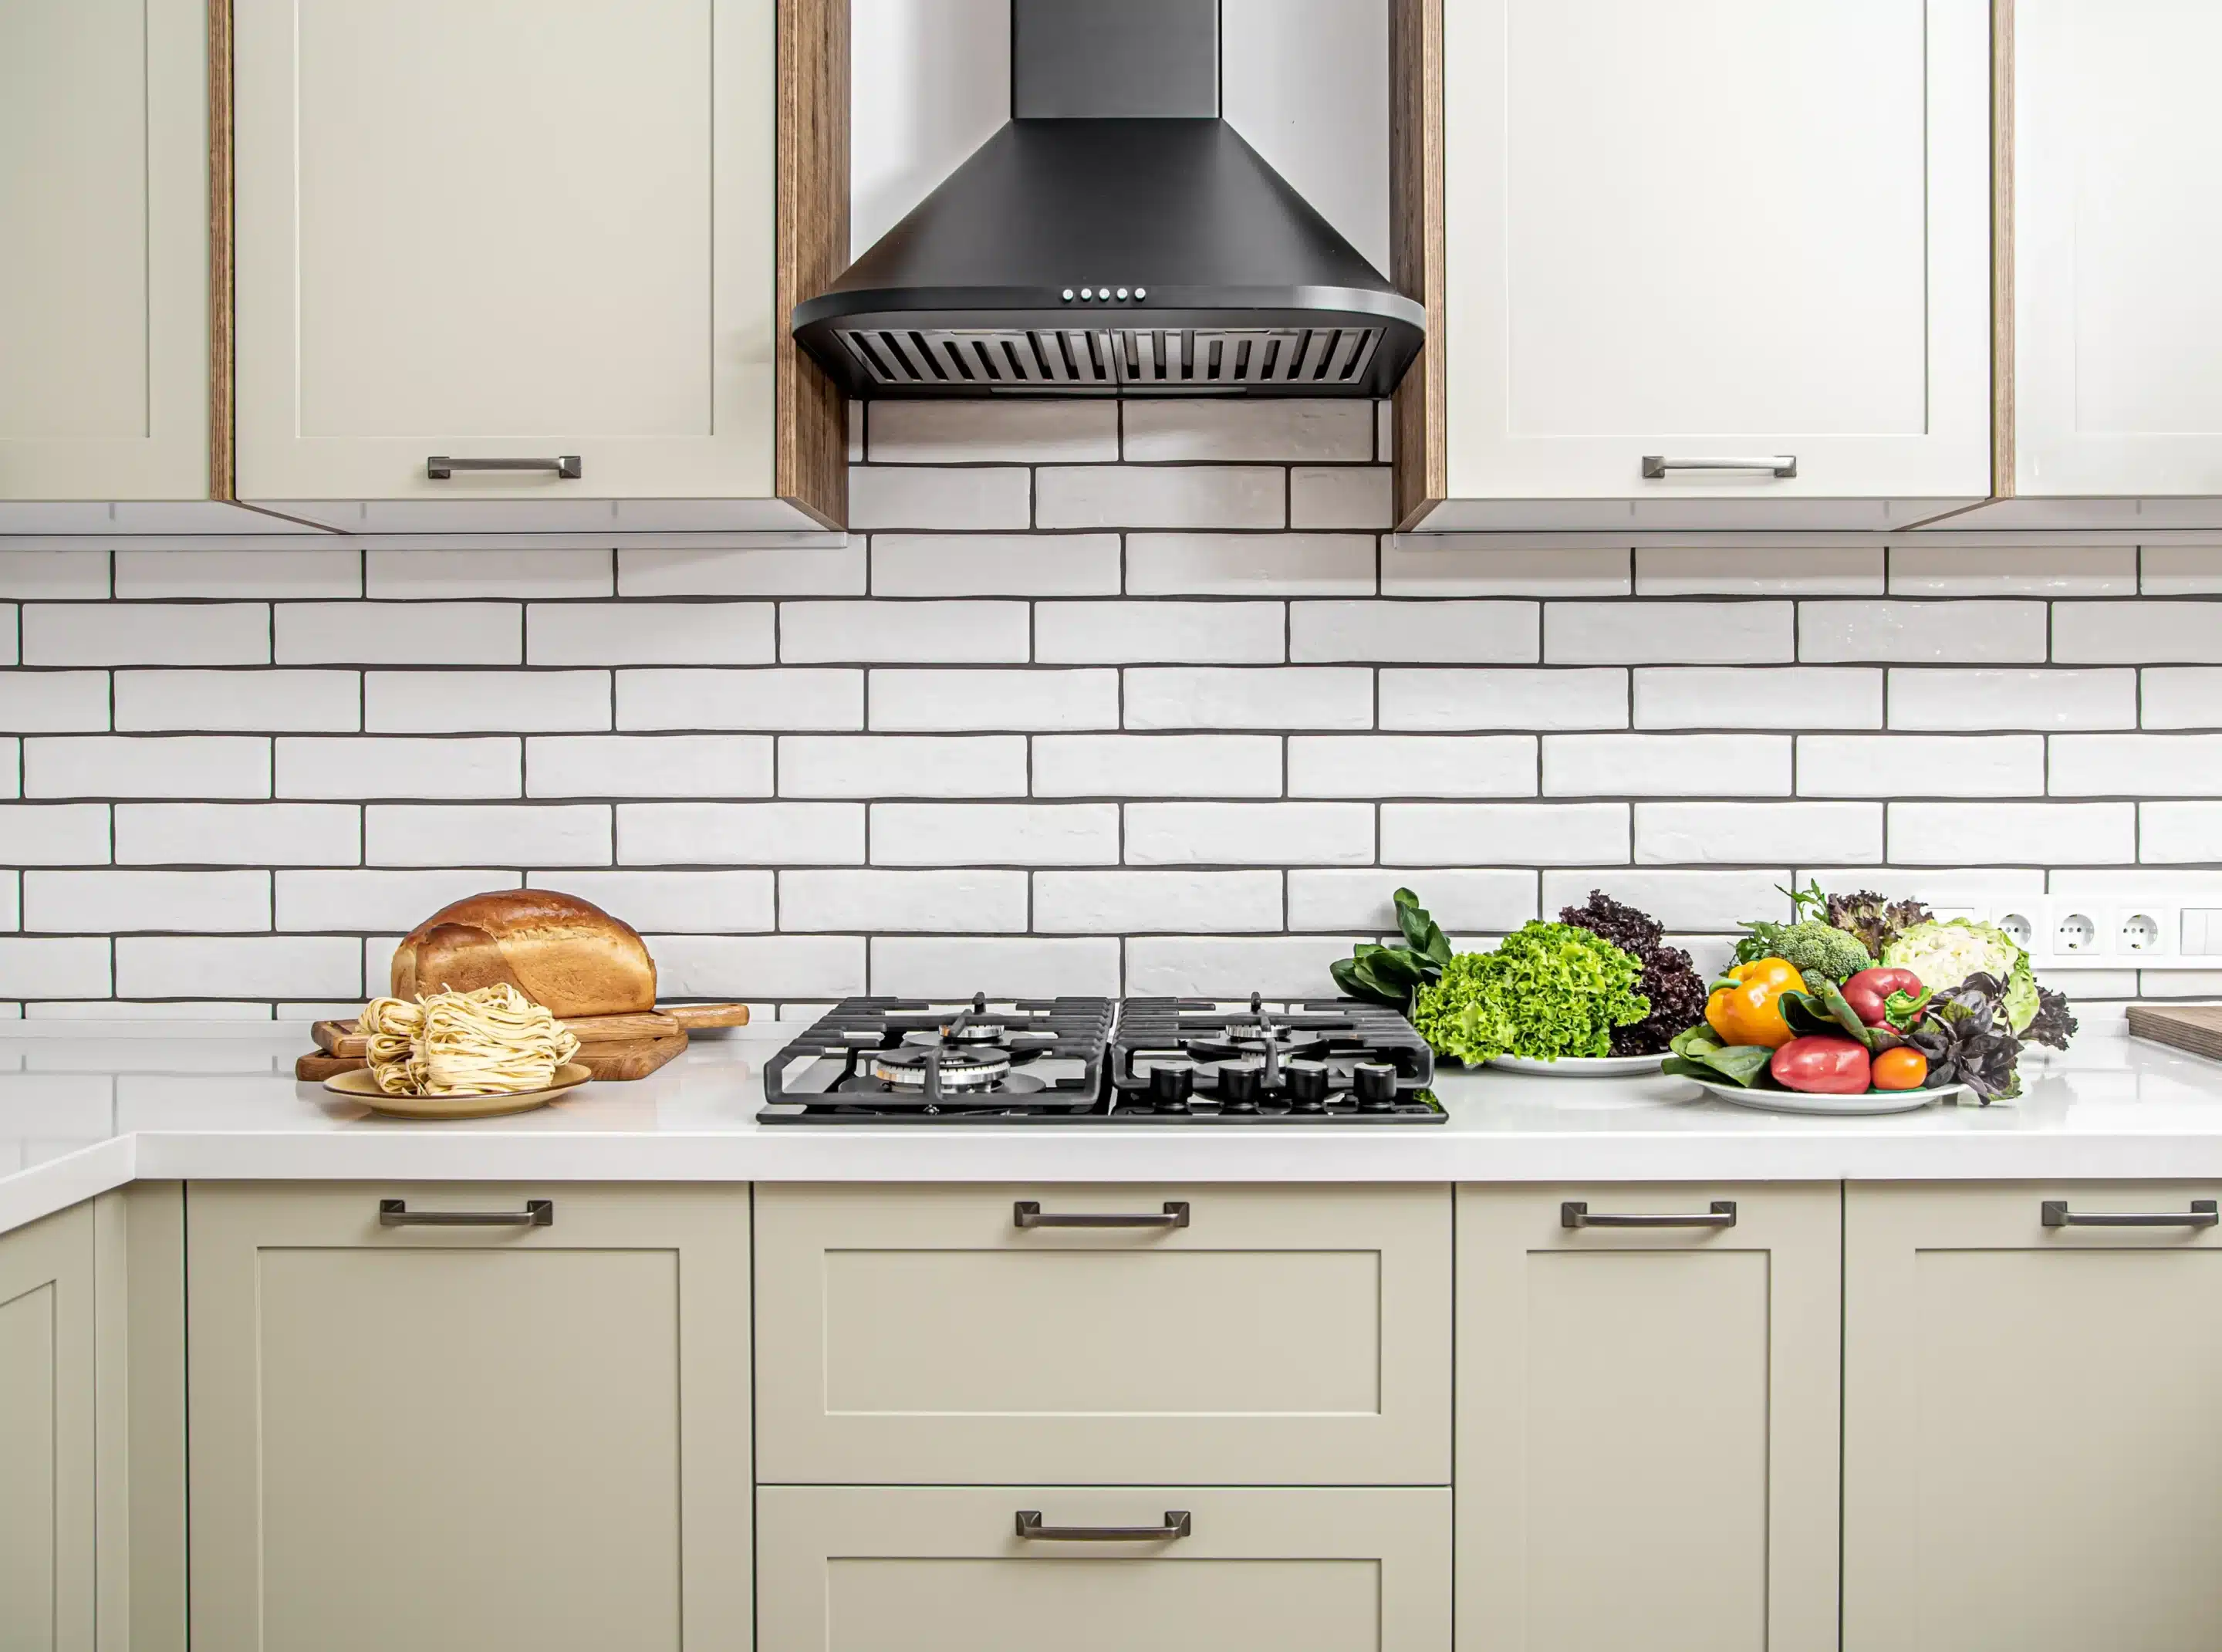
A backsplash is one of the most satisfying upgrades you can make to a kitchen or bath. It also exposes every shortcut: crooked lines, uneven grout, and chipped edges are right at eye level. The right backsplash installation tools will not make you a tile setter overnight, but they remove most of the avoidable mistakes. This checklist walks through what you need, why it matters, and what to rent, buy, or leave to a professional.

Before You Buy Tools: Know the Job
The tools you need depend on the tile. Small ceramic subway tile is forgiving. Large-format porcelain, natural stone, glass mosaics, and patterned tile each call for something different. Decide first:
- What tile are you using, and how large is it?
- How many cuts will there be around outlets, windows, and edges?
- Is the wall flat and sound, or does it need repair?
- Do you need to remove an existing backsplash?
If you are unsure, read our guide on what you need to install a backsplash tile for the materials side of the project. Match your backsplash installation tools to the tile, not the other way around.
Protection and Preparation Tools
Good tile work starts with protecting the room and the wall.
- Painter’s tape and drop cloths to cover countertops, cabinets, and floors
- Plastic sheeting or cardboard for counters during demolition and tiling
- Putty knife and scraper to remove old caulk, adhesive, or loose paint
- Pry bar and hammer if you are removing an old backsplash
- Utility knife for cutting tape, membranes, and caulk
- Shop vacuum to keep dust under control
- Safety glasses, dust mask, and gloves to protect against dust, chips, and chemicals
- Screwdriver or outlet tool to remove cover plates
- Voltage tester to confirm power is off at outlets and switches before working near them
Turn off the circuit at the breaker before you touch outlets. If you are not comfortable with that, a licensed electrician can help.
Measuring and Layout Tools
Layout is where good backsplashes are won.
- Tape measure for the wall and for tile counts
- Four-foot level to establish a true horizontal line and check vertical alignment
- Pencil to mark lines
- Chalk line or laser level for long straight reference lines
- Straightedge or square to check corners and mark cuts
- Tile spacers to keep grout joints consistent
Dry-fit a few rows on the counter before you spread any adhesive. Find the center of the main wall, and plan so cuts at ends are not tiny slivers. A laser level is a worthwhile investment for long runs, and many rental centers offer them.
Backsplash Installation Tools for Cutting Tile
How you cut depends on the material.
- Manual tile cutter (snap cutter). Good for straight cuts on ceramic and some porcelain.
- Wet saw. The best tool for clean cuts on porcelain, stone, and thicker tile. It uses water to keep the blade cool and reduce dust. Rentals are widely available.
- Tile nippers. Used to nibble small curves and notches around pipes and outlets.
- Angle grinder with a diamond blade. For irregular cuts, with care and dust protection.
- Glass-cutting blade or glass tile blade. Glass mosaic needs a specific blade to prevent chipping.
- Rubbing stone or diamond hand pad. Smooths sharp cut edges.
Make test cuts on spare tile before cutting good pieces. Wear eye protection every time.
Mixing and Setting Tools
Setting materials need to be mixed and spread correctly.
- Notched trowel. The notch size depends on tile size. Smaller tile uses smaller notches, and larger tile uses bigger ones. Check the tile and adhesive instructions.
- Margin trowel for small areas and corners
- Bucket and mixing paddle with a drill for thinset, or a stirring stick for premixed adhesive
- Sponge and bucket of clean water for wiping excess adhesive immediately
- Rubber mallet or beating block to seat tiles evenly
- Level and straightedge to check that tiles are on the same plane
- Tile leveling clips, if you are setting larger tile on a wall
Choose adhesive made for your tile and wall type. Premixed mastic is used for small ceramic in dry areas, while thinset mortar is typical for porcelain, stone, and wet areas. For industry guidance on setting materials, the Tile Council of North America is a helpful source.
Grouting Tools
Grout is where a backsplash gets its finished look.
- Rubber grout float to press grout into joints
- Grout sponge and two buckets for cleaning
- Microfiber or soft cloth for polishing haze
- Grout sealer and applicator, if using cement-based grout
- Margin trowel or putty knife to mix and scoop grout
- Caulk gun and silicone for the joint between the backsplash and countertop
Use caulk instead of grout where the tile meets the counter, tub, or other changes of plane. These areas move, and grout will crack.
Finishing Tools
- Outlet box extenders so receptacles sit flush with the new tile surface
- Longer cover plate screws where needed
- Small brush for detail cleaning
- Painter’s tape to protect cabinets and counters while caulking
- Haze remover, if recommended by the grout manufacturer
What to Rent, What to Buy
Some tools are worth owning, and others are better to rent.
- Buy: tape measure, level, trowels, grout float, sponges, buckets, tile spacers, utility knife, safety gear.
- Rent or borrow: wet saw, laser level, specialty blades.
- Consider hiring out: cutting complex shapes in natural stone, working near gas lines, or electrical changes.
Common Tool-Related Mistakes
- Using the wrong trowel notch, leaving gaps or oozing adhesive.
- Skipping a level, leading to tiles that drift over a long wall.
- Cutting tile with a dull blade, which chips edges.
- Using a stiff sponge or too much water on grout, weakening the joints.
- Forgetting outlet extenders, leaving receptacles sunk into the wall.
- Not wearing eye protection when cutting.
A Simple Order of Operations
- Turn off power and remove outlet covers.
- Protect counters and cabinets.
- Prepare the wall: clean, patch, and prime if needed.
- Mark layout lines.
- Mix and spread adhesive in small sections.
- Set tile with spacers, checking level often.
- Cut tiles for edges and outlets.
- Let adhesive cure.
- Grout, clean, and haze-polish.
- Caulk edges and reinstall outlet covers.
Our post on how to install tile backsplash walks through this process in more depth.
Tool Care and Cleanup
Taking care of your tools extends their life and protects your work. Rinse trowels and floats before adhesive or grout hardens, and never wash thinset or grout down an indoor drain, since it can clog plumbing. Use a bucket, let the solids settle, and dispose of them according to local guidelines. Keep wet saw blades clean and replace them when they start to chip tiles. Store sponges and floats dry, and check that your level is still true by flipping it end for end on a flat surface. Well-kept backsplash installation tools last for many projects.
Finally, give yourself room to work. A clean, well-lit space with tools within reach makes setting tile easier. Lay out your cutting station away from the kitchen counters, and keep a damp cloth ready for quick wipe-downs of adhesive smears.
Questions People Ask
Do I really need a wet saw?
For porcelain, stone, or lots of cuts, a wet saw makes work much cleaner. For simple ceramic subway tile, a snap cutter and nippers may be enough.
What trowel size should I use?
Follow the tile and adhesive instructions. As a rule, larger tile requires a larger notch.
Can I tile over existing tile?
Sometimes, if the surface is flat and secure, but removal is often better. It depends on the condition.
How long before I can grout?
Follow the adhesive manufacturer’s instructions. Usually, it is at least a day.
Need Help or Inspiration?
If the tool list feels like more than you want to take on, Nadine Floor Company can handle backsplash installation and help you choose tile. See our backsplash tile page for options, or browse backsplash tile ideas to get started. If the list of backsplash installation tools feels like more than you want to own, we can help.
When you are ready to talk through your project, contact Nadine Floor Company. We will help you decide whether to tackle it yourself or leave it to the pros.